Integration: How To Sync Contacts To Klaviyo
1. Log In to your dashboard. Navigate to the “Audience" Tab > Klaviyo.
Create the connection to your Klaviyo
-
Visit the Klaviyo page in your dashboard
-
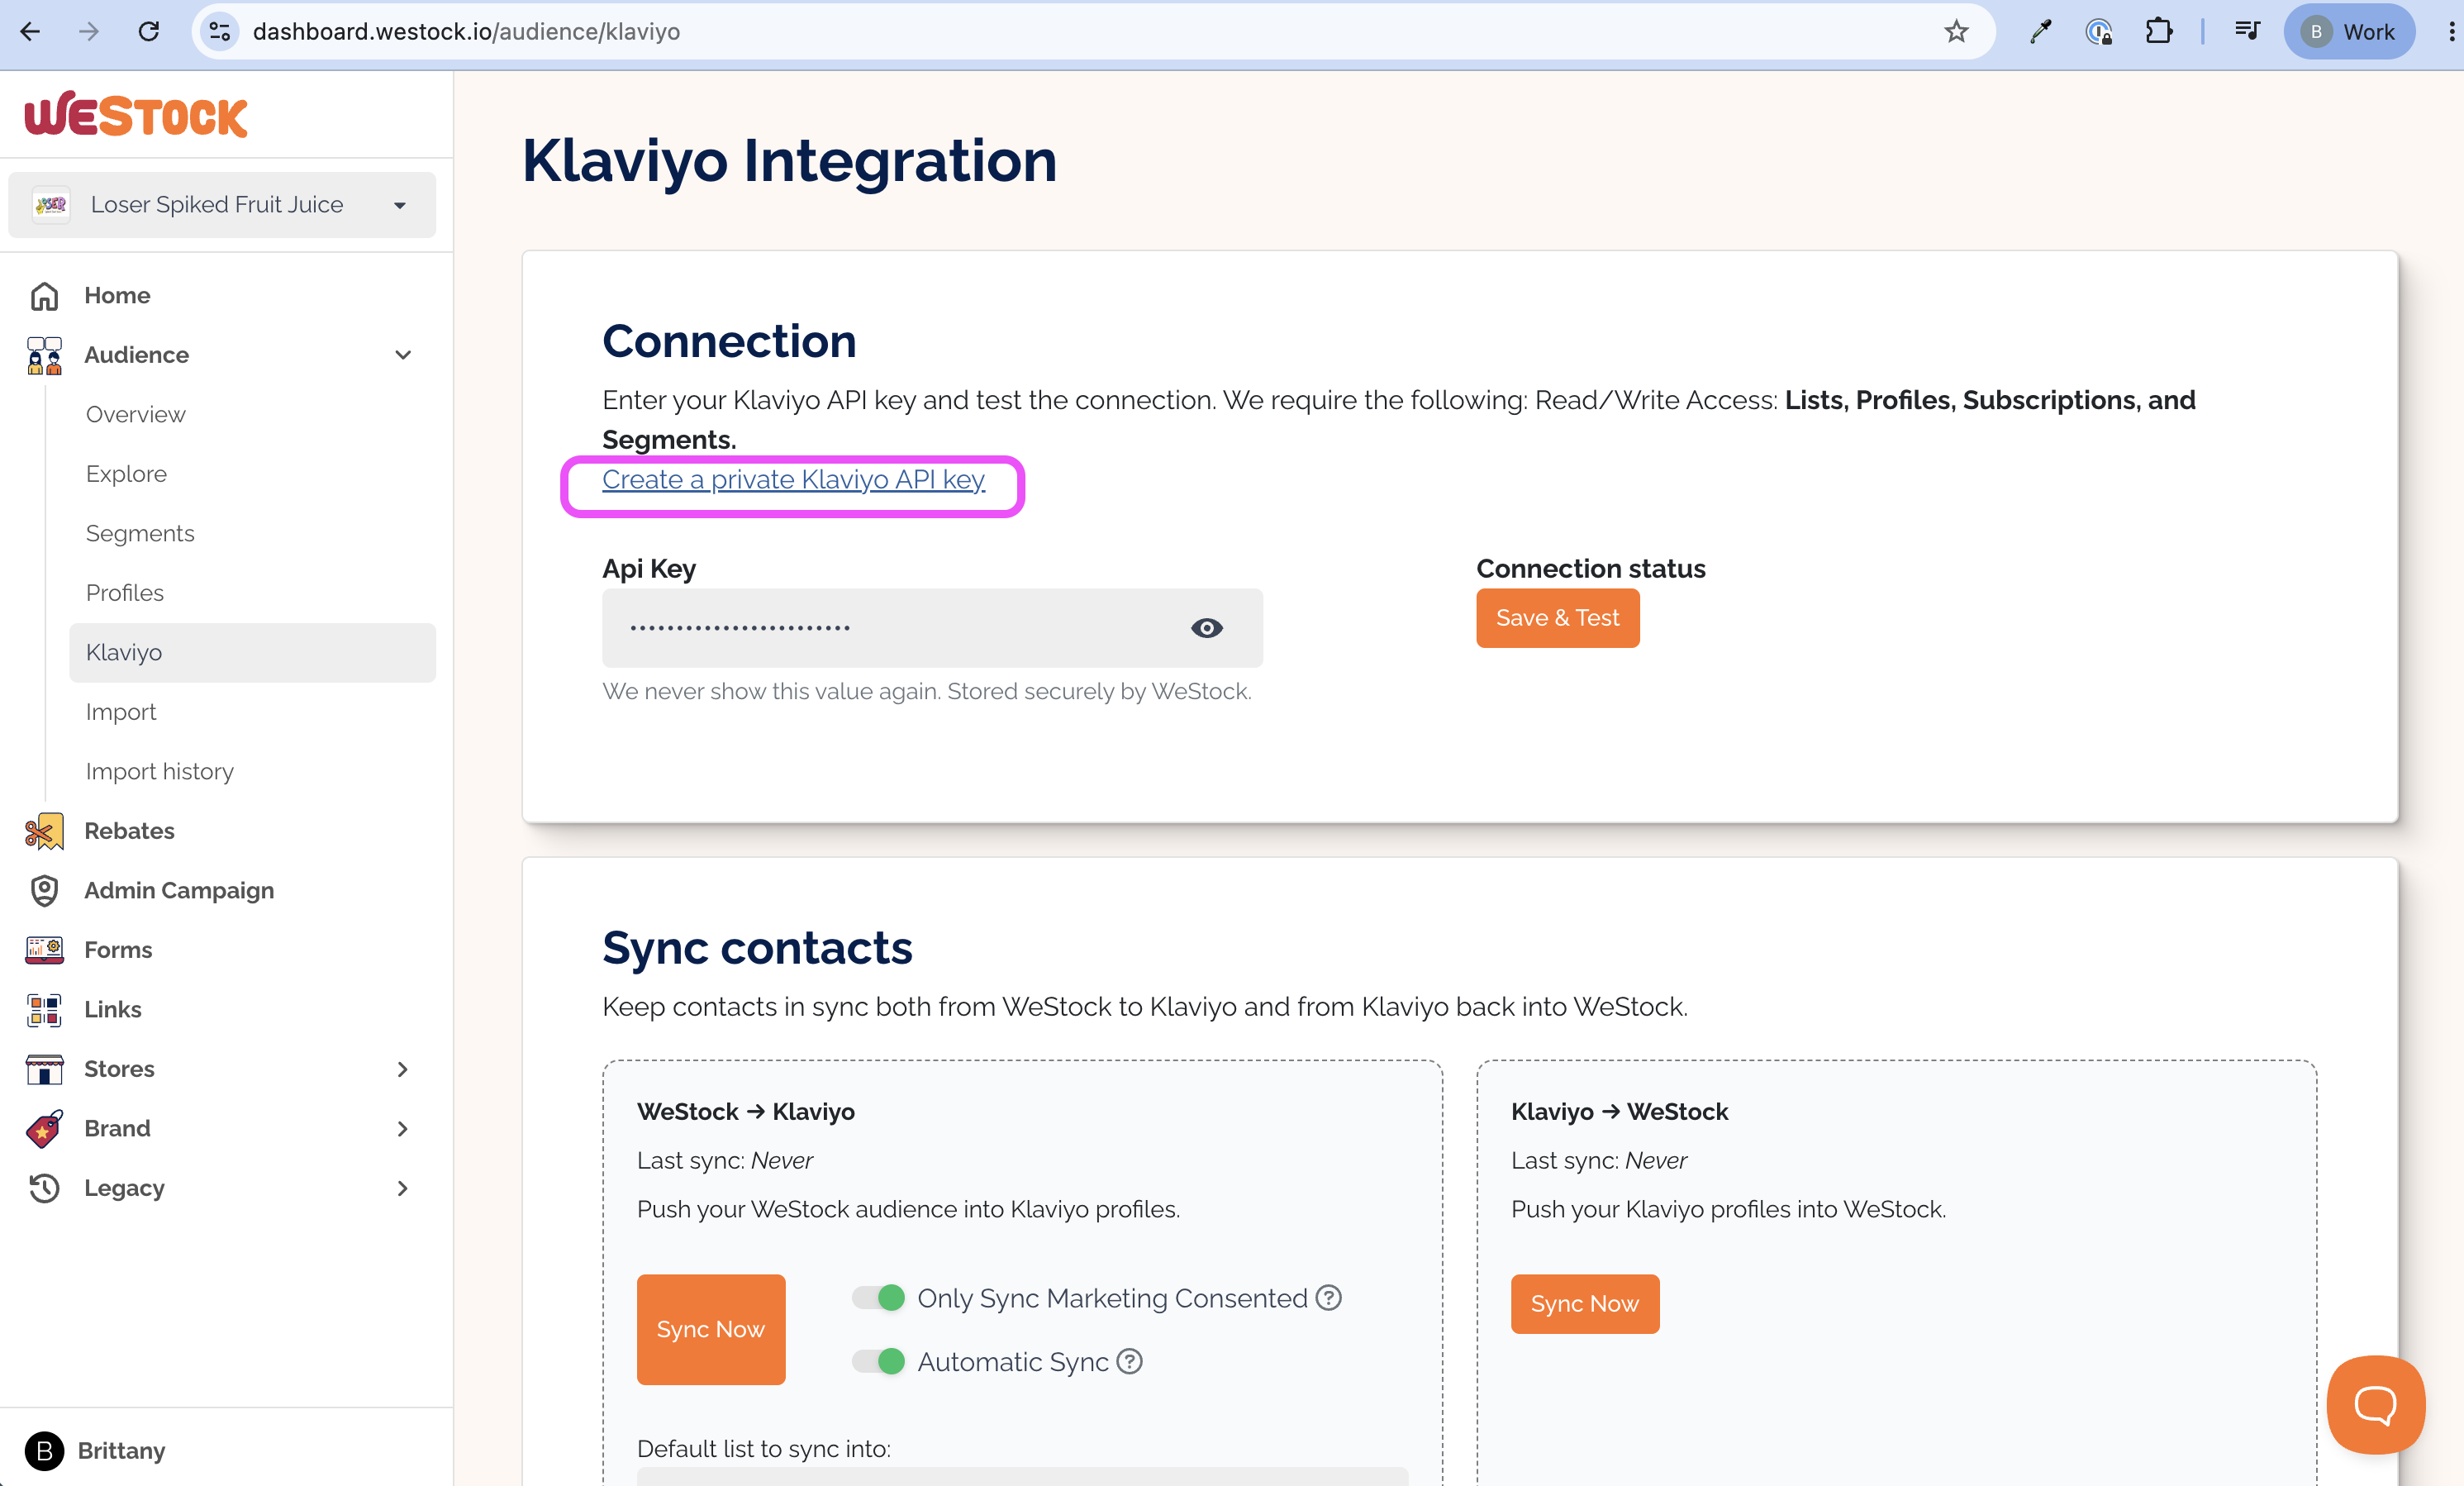
Under the Connection section of the page, click the "Create a private Klaviyo API key" link. This will take you to Klaviyo, and will automatically generate a key with the access level required to sync contacts from WeStock.
-
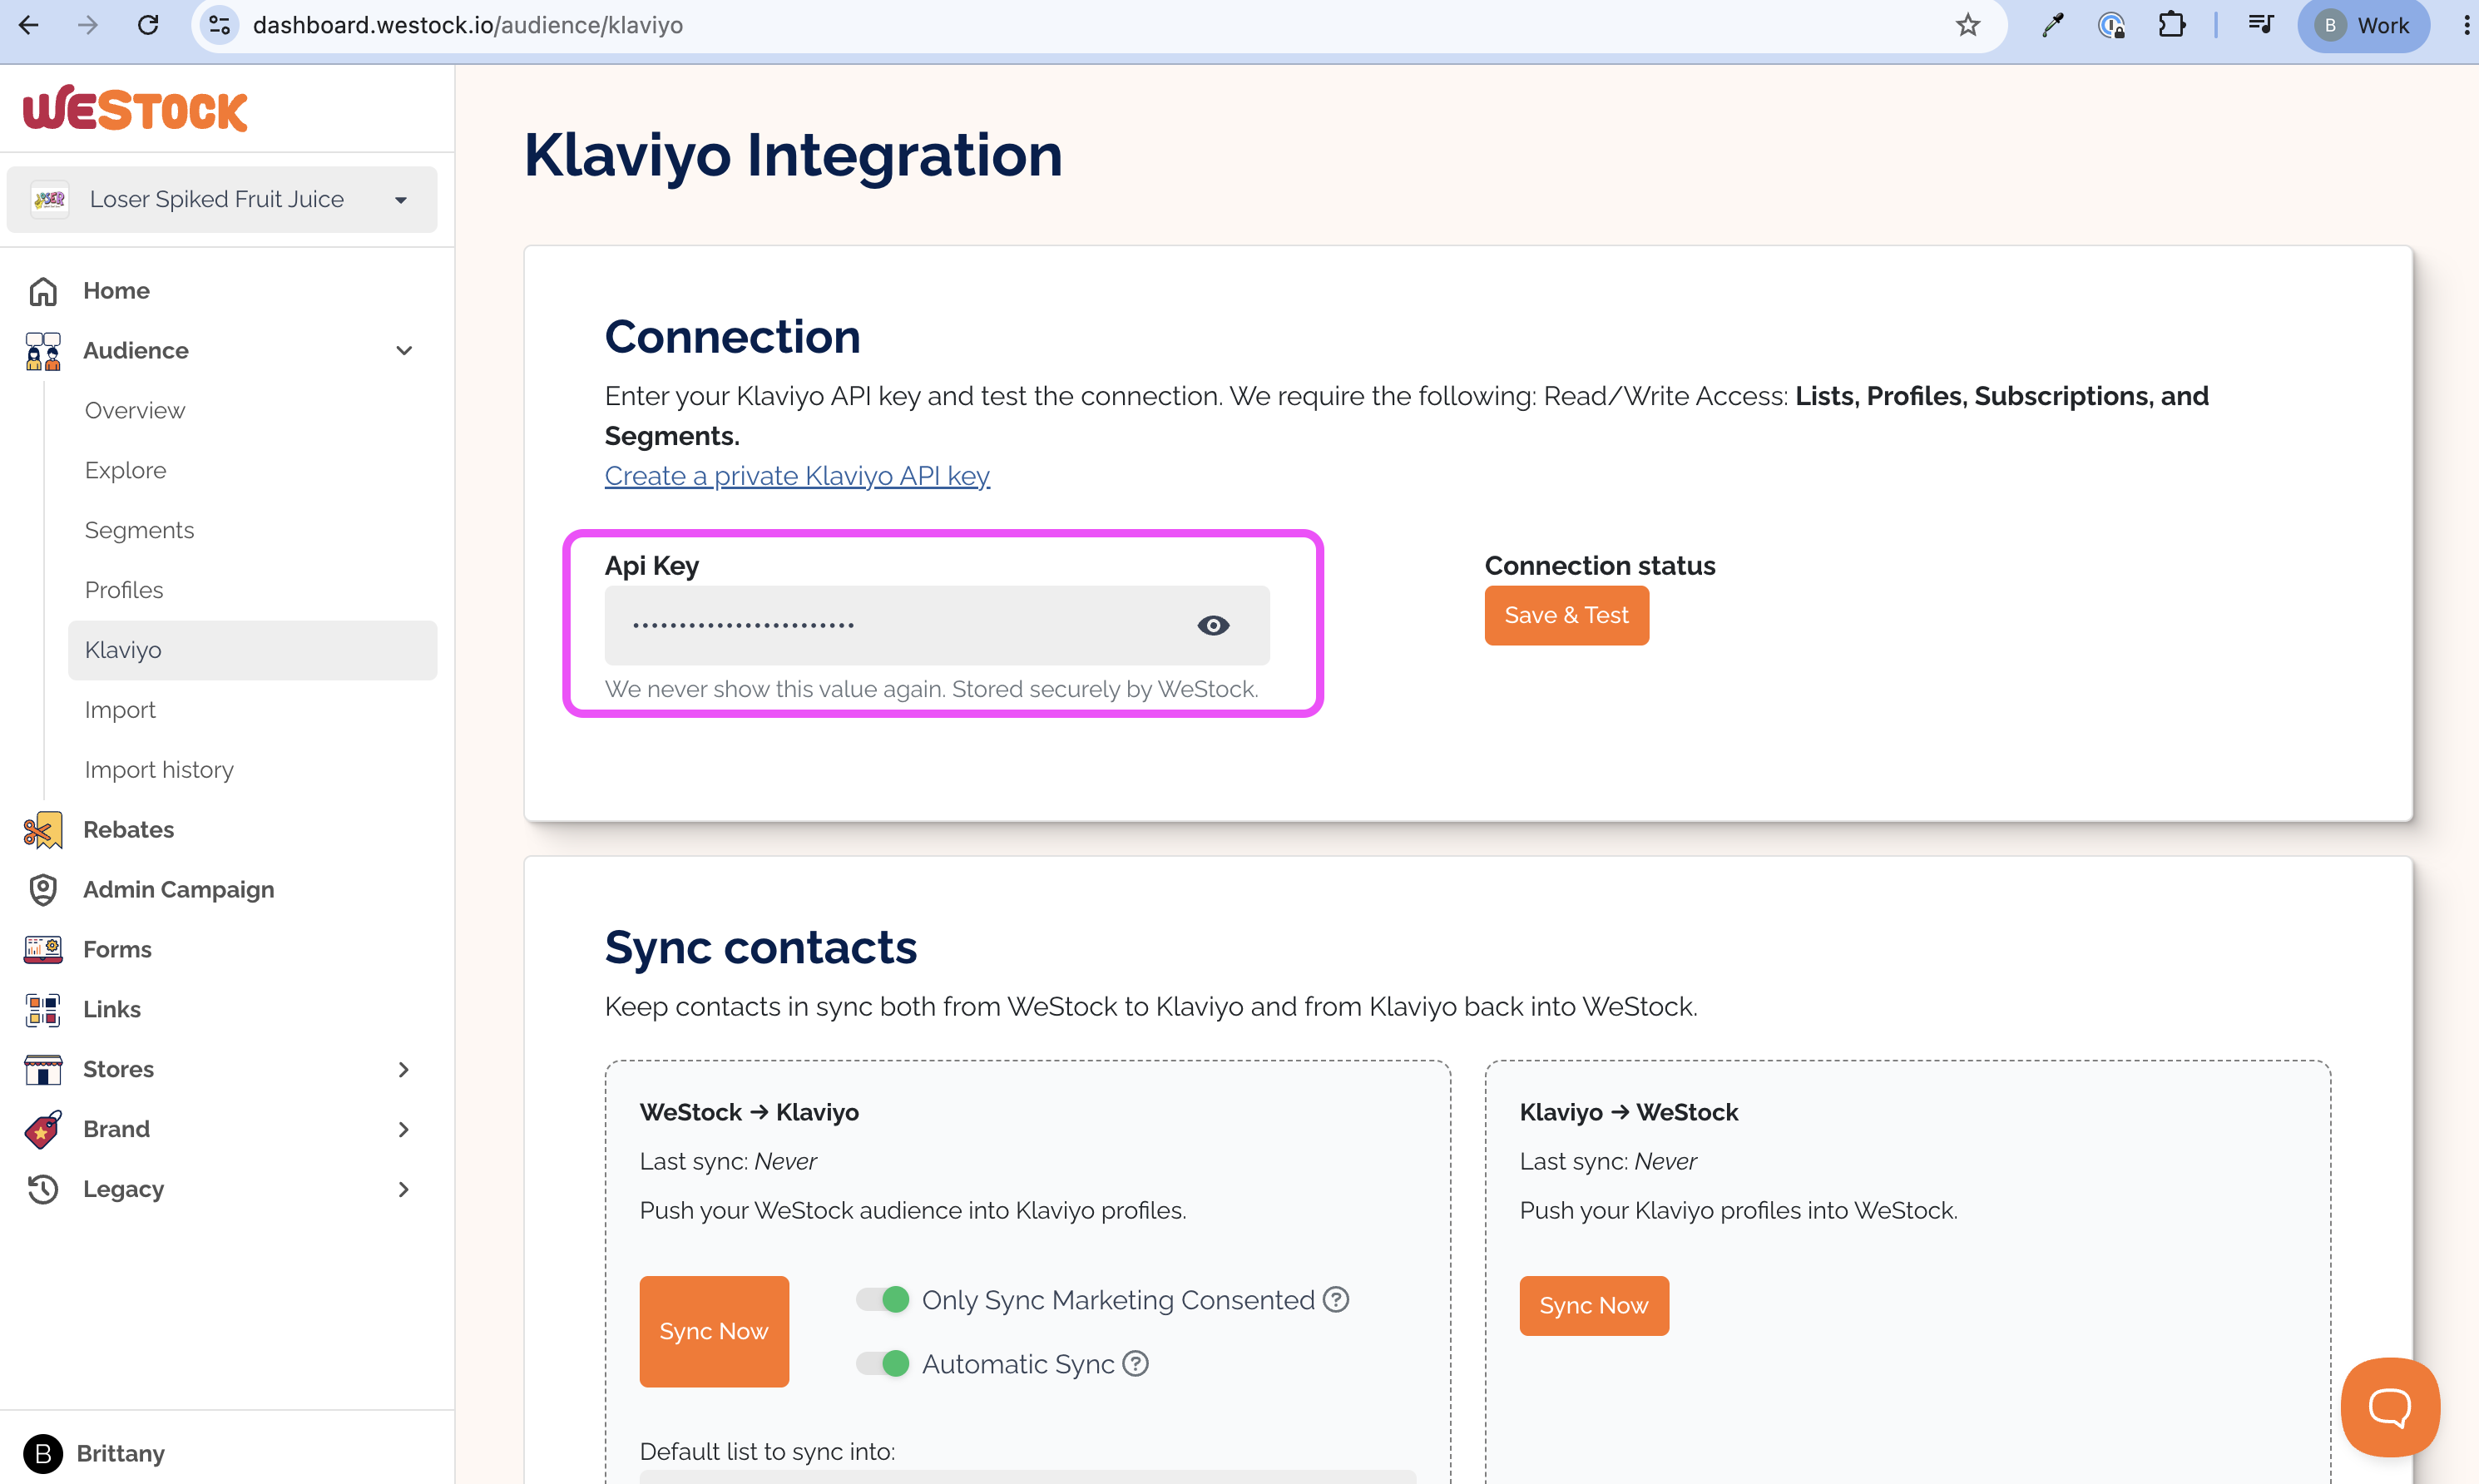
Add the key to the Api Key Field.
-
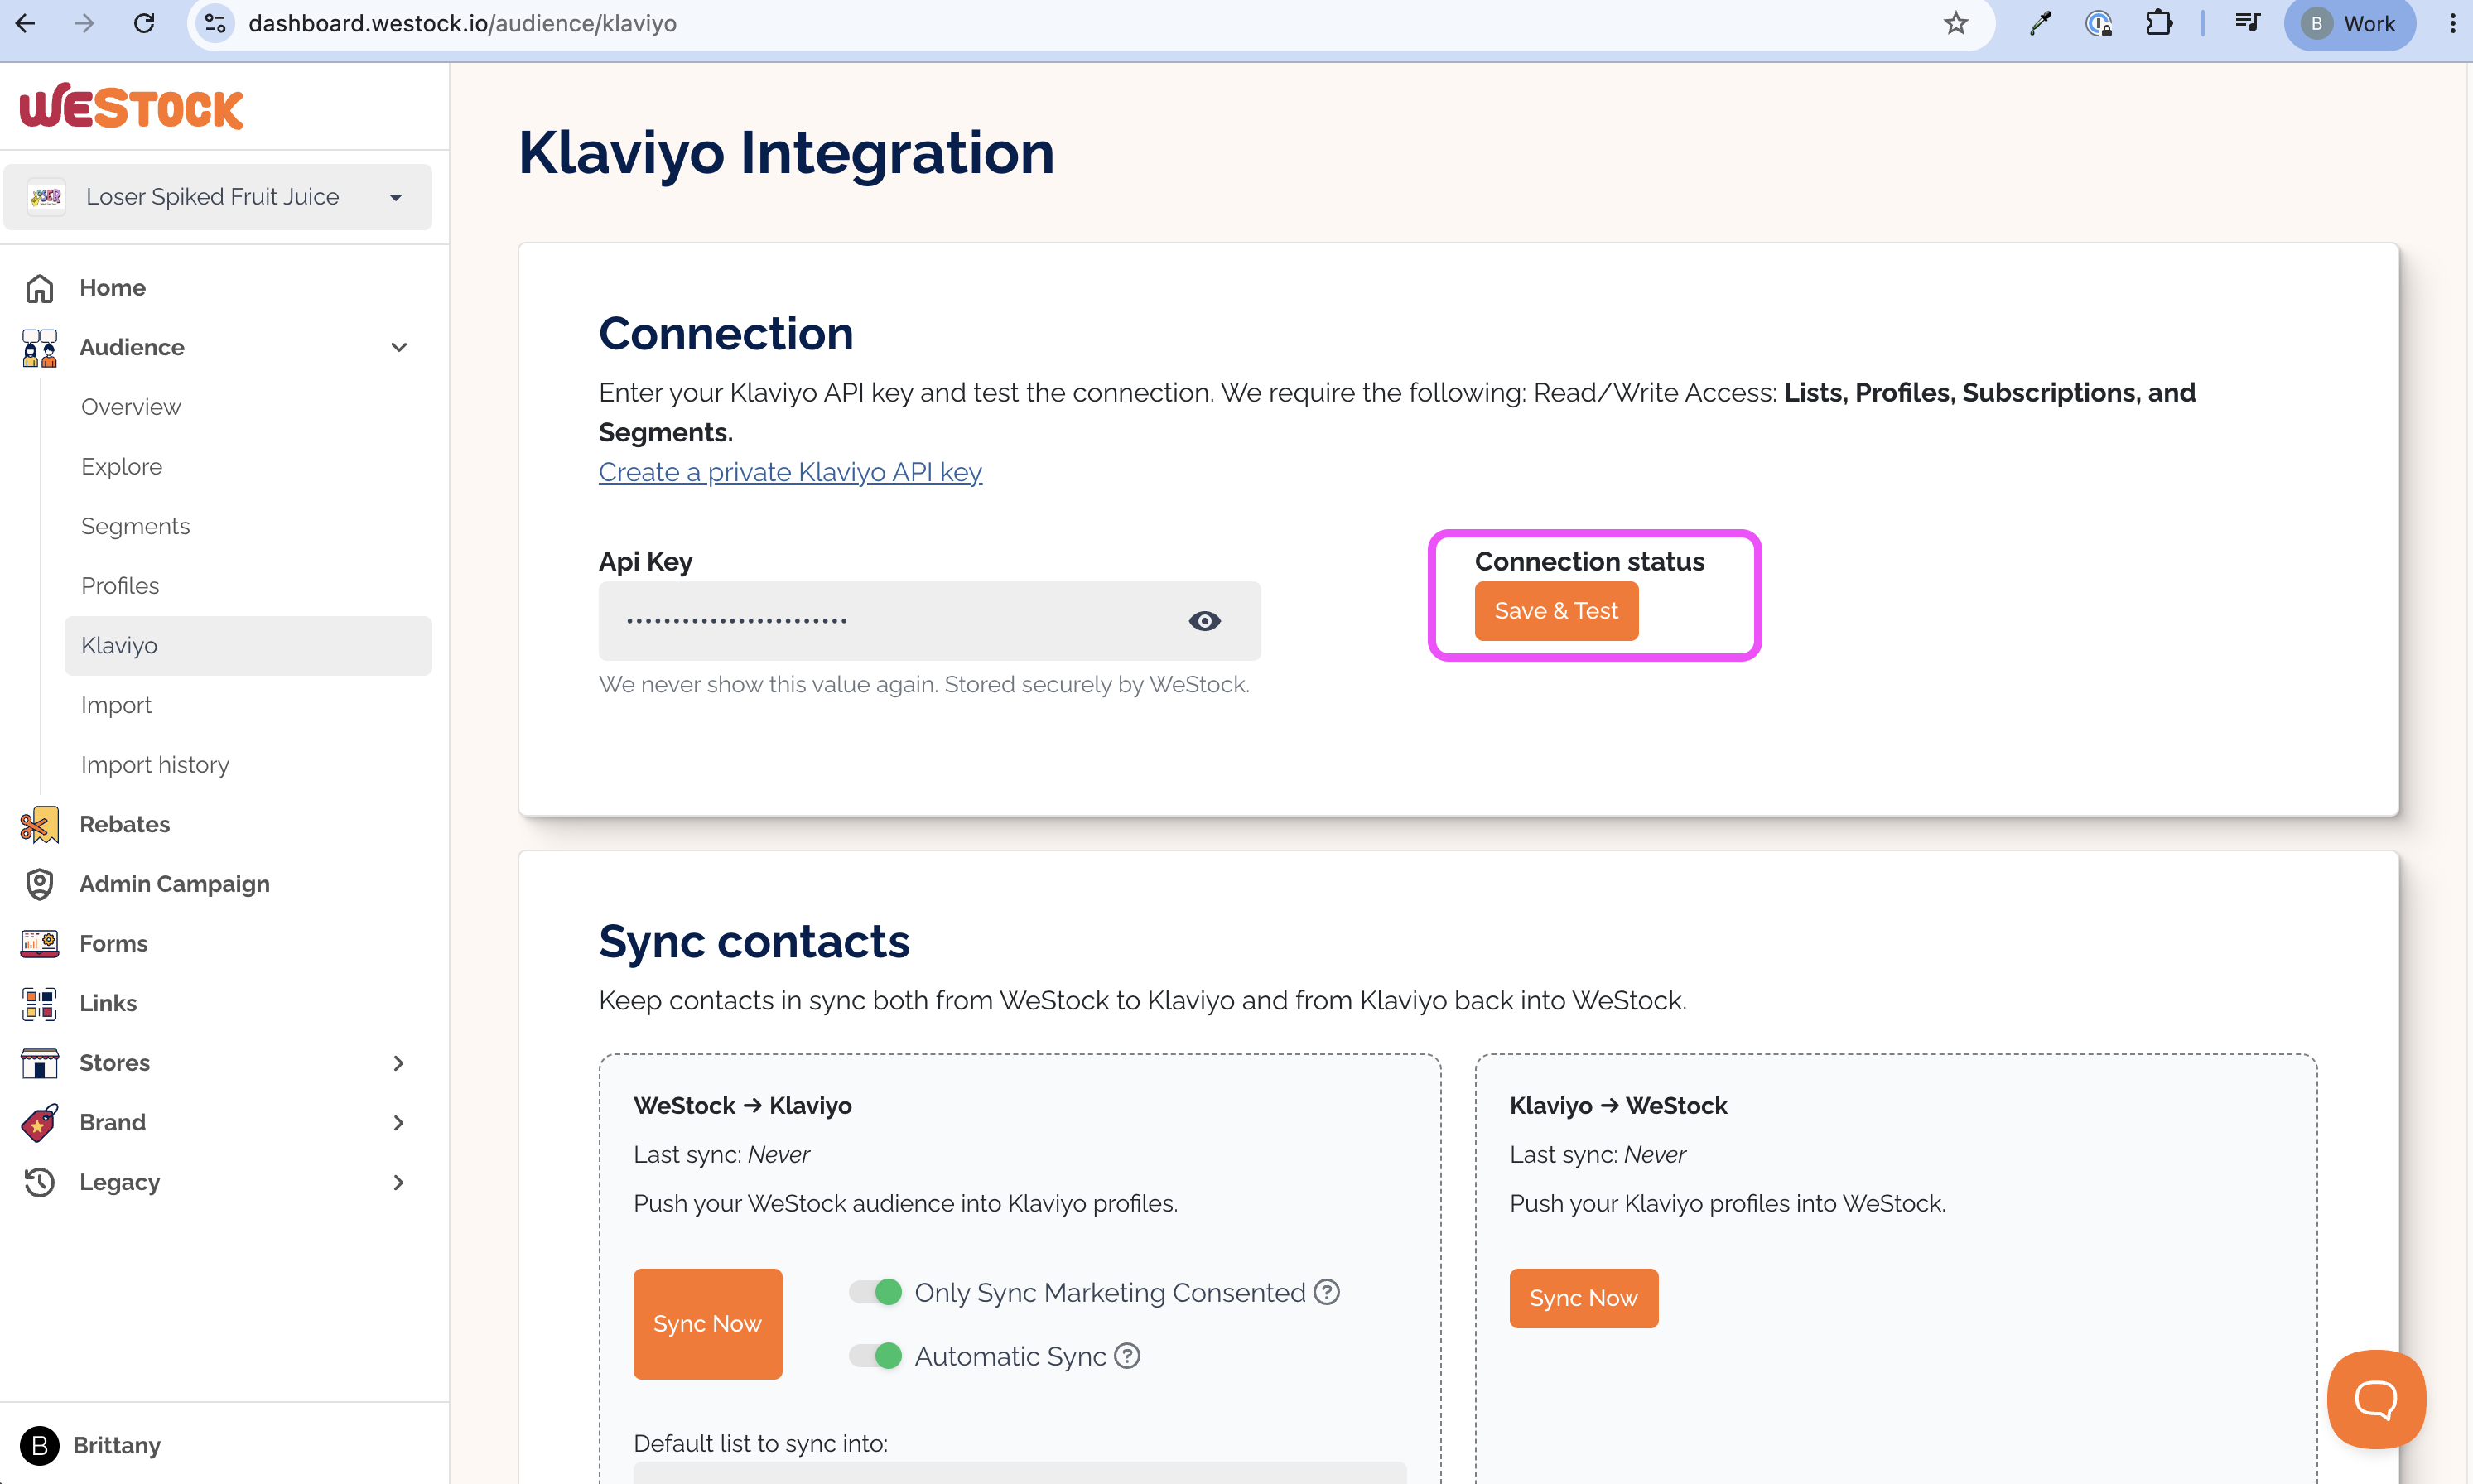
Click "Save & Test"
-
Set up the automatic Sync
-
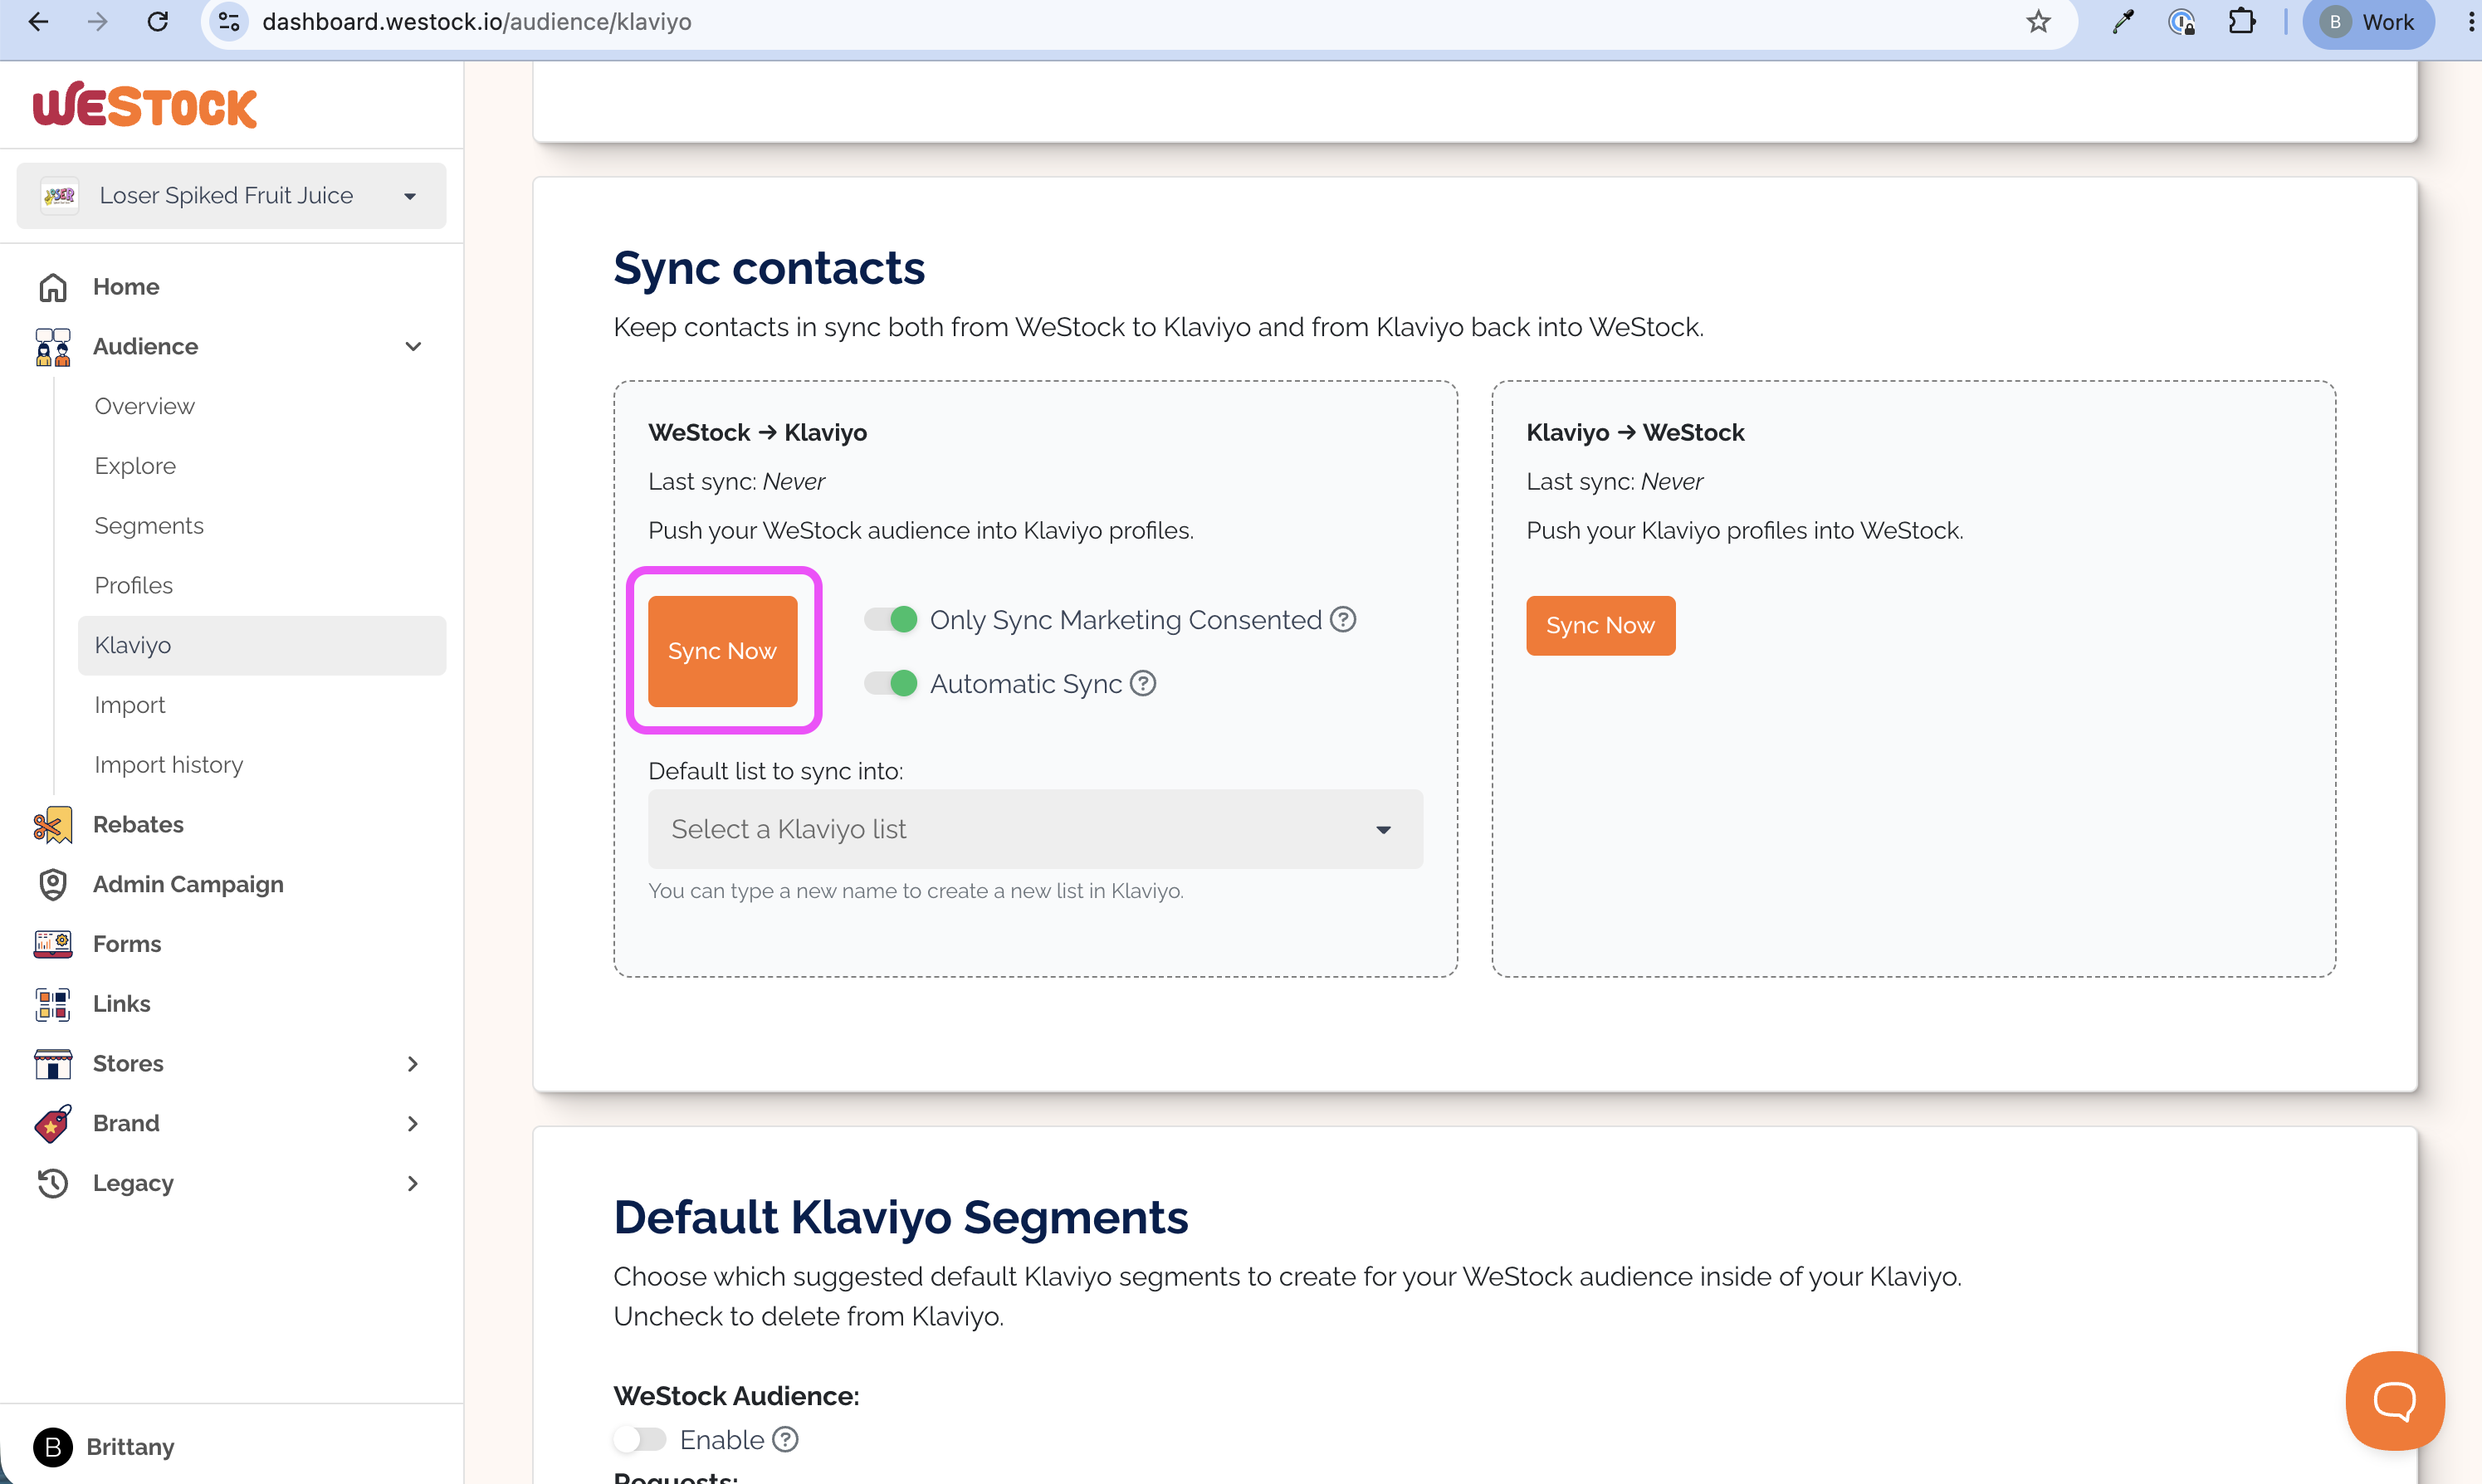
After the connection is established, in the Sync contacts section, choose a default list to automatically sync contacts to.
-
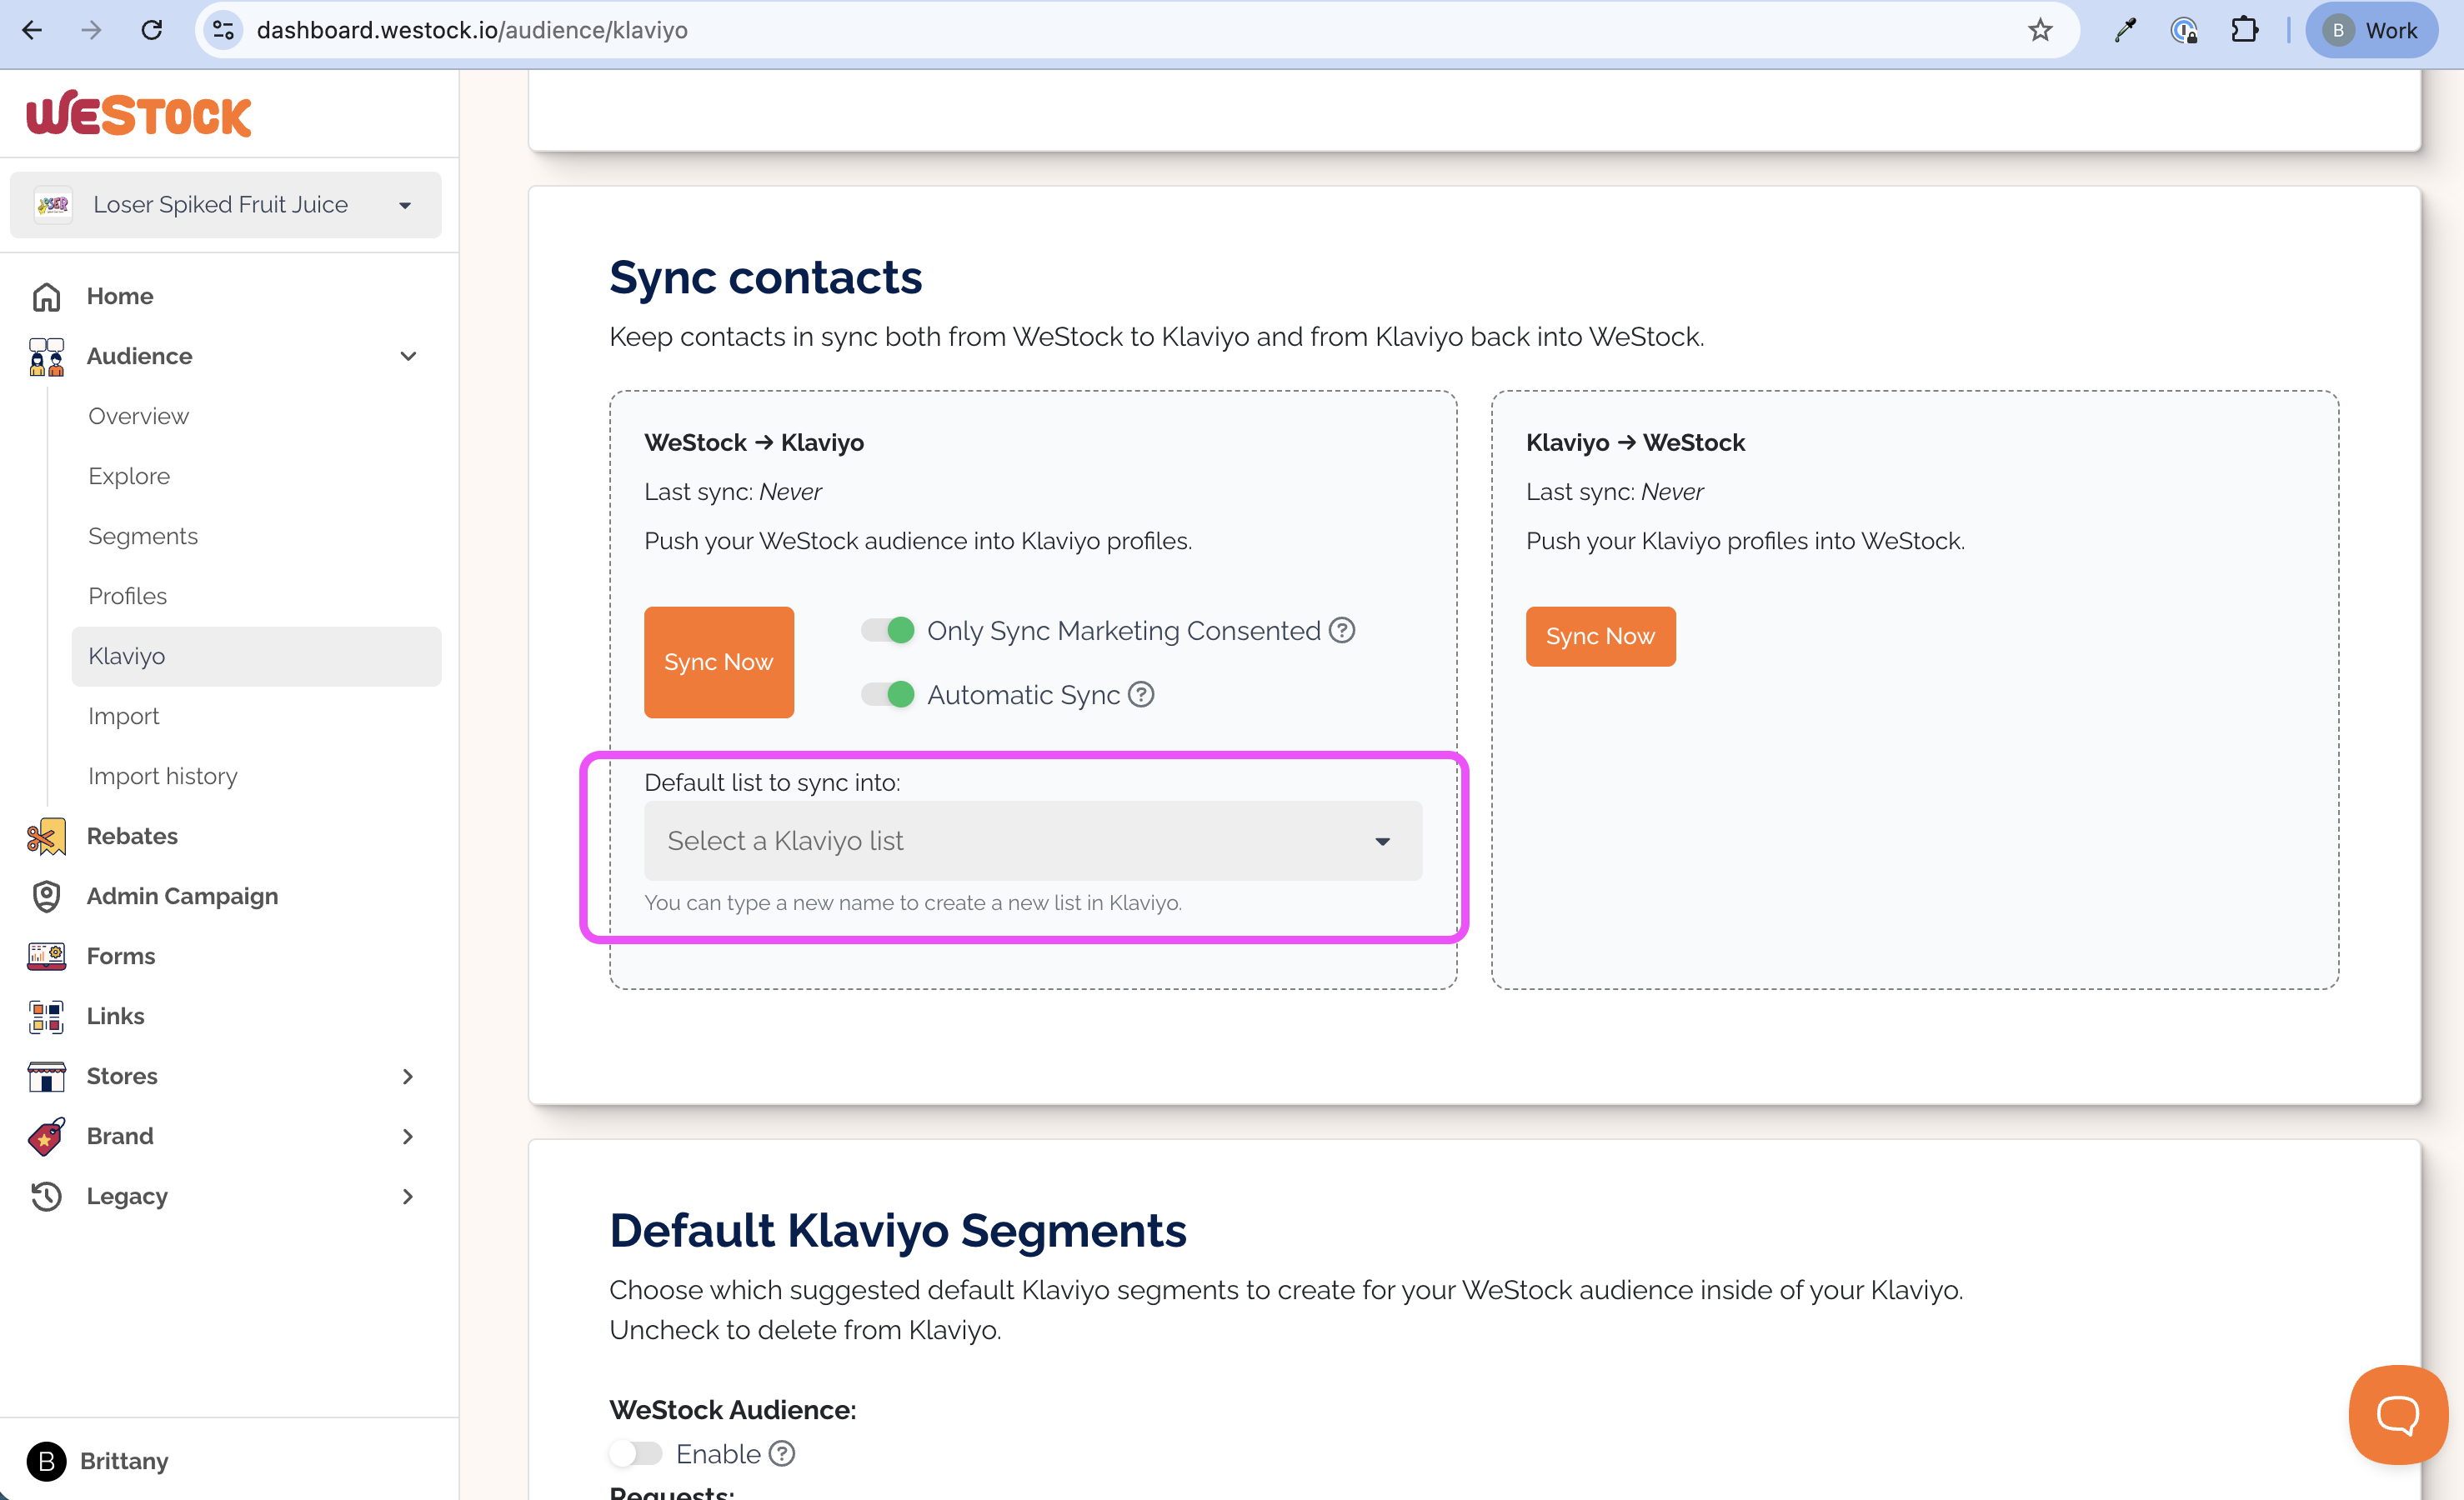
- Best practice: leave the toggles for marketing consent and automatic sync ON (green) so only customers who have given explicit permission to receive marketing emails are added to your Klaviyo, and they are exported to your Klaviyo upon consenting to receive marketing through a WeStock form.
-
- Hit the "Sync Now" button. This will sync your current contacts, and new contacts will be added to the list as the consent.
- Optional: Create a segment of Purchased customers in Klaviyo
- In the Default Klaviyo Segments section, toggle on the "Purchased" segment to create a segment with this name in your Klaviyo that will automatically update as customers consent to marketing and make purchases
- To add an extra safeguard to ensure only marketing-consented contacts exist in the Purchased segment, you can also add the parameter "ws_marketing_consent" in Klaviyo is "True".